Smartphones are equipped with robust cameras that can capture exceptional photographs. By employing the right techniques, you can utilize your phone to capture high-quality images of your eyes.

Photo quality and location of flash is very important for assessment of the pupils.

Here are some refined best practices for obtaining clear images of your eyes:

  1. Clean Camera Lens: Before capturing the image, make sure the lens of the camera, especially on the back of the phone, is clean to prevent any blurriness or distortion in the image.
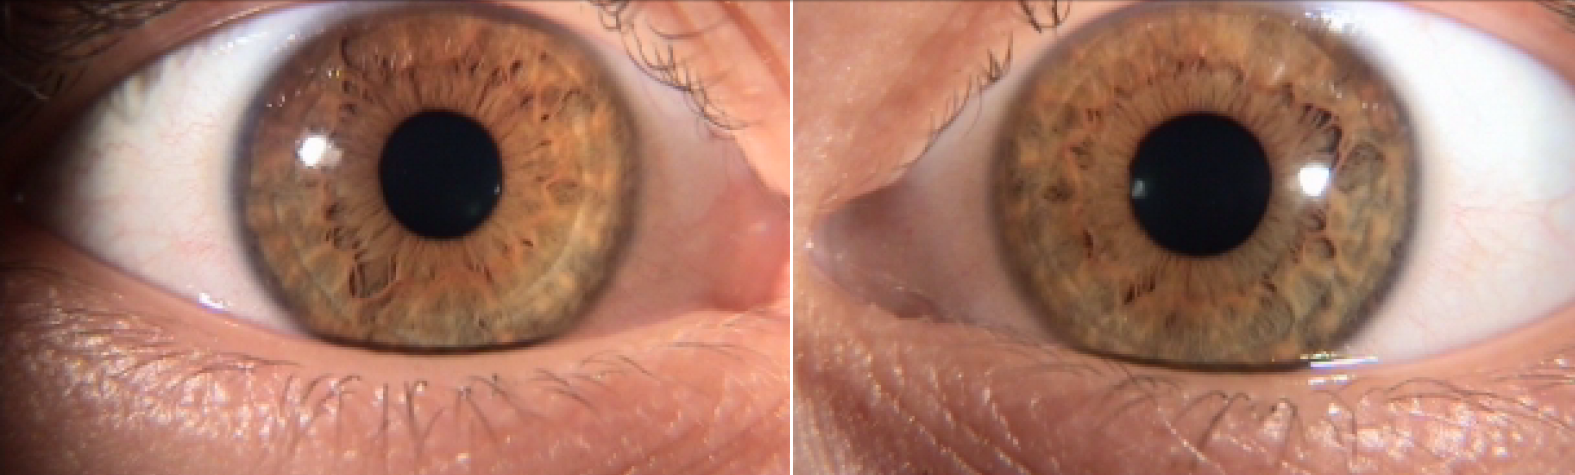
  2. Optimal Distance: Hold the phone at a distance of approximately 4 inches away from your eye. This distance helps in achieving focus and clarity in the image.
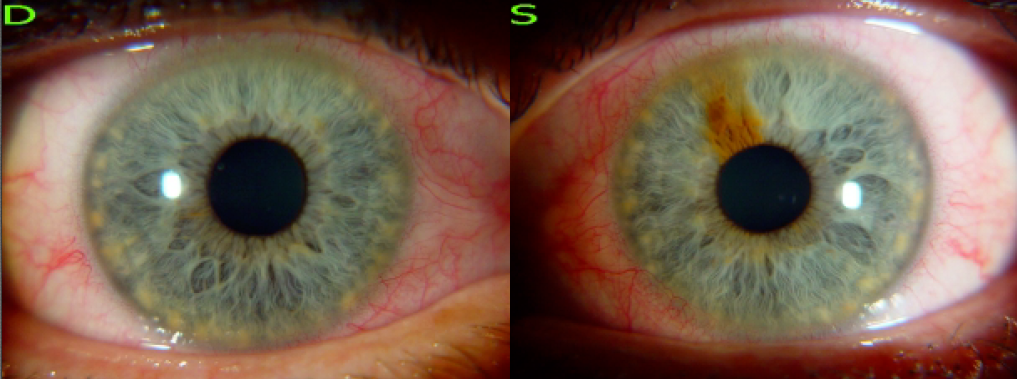
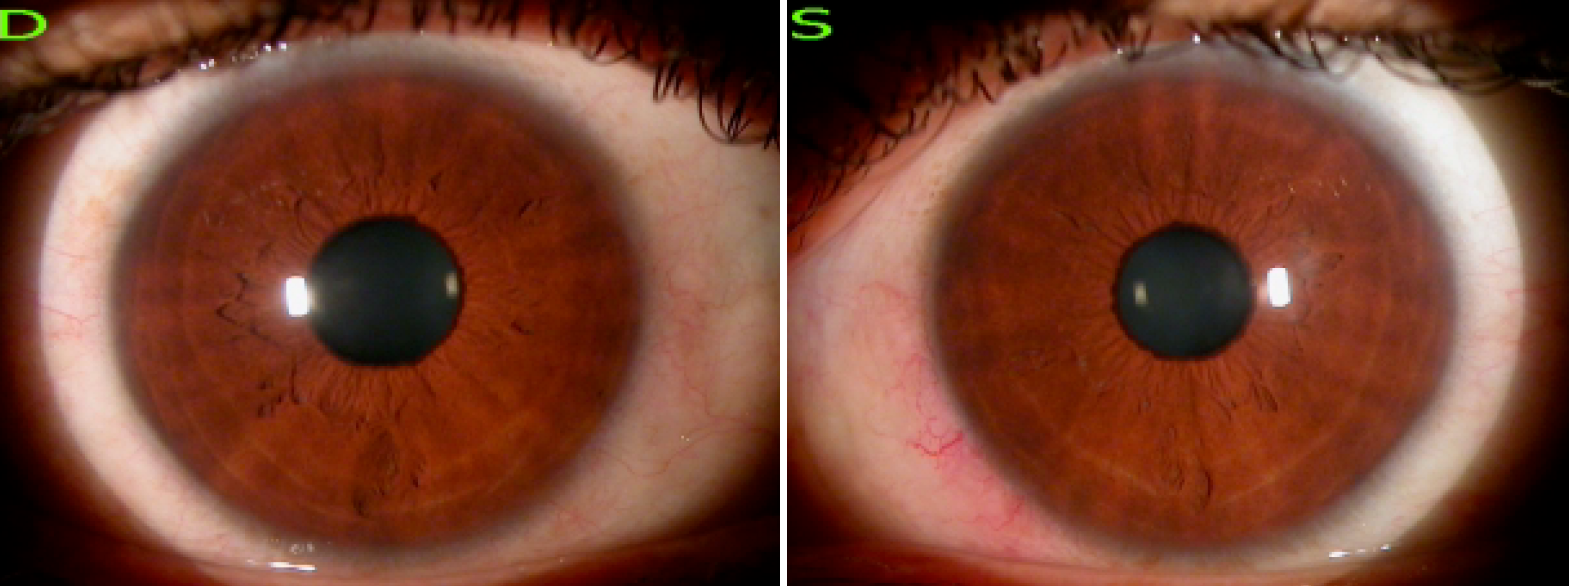
  3. Proper Framing: Ensure that the entire eye, including the sclera (the white part of the eyeball), is centered and fills the frame of the image. Avoid any obstructions or shadows that may obscure the eye.
  4. Cropping Tool: Leave the cropping tool the same width. Instead, use your finger to adjust the eye into the middle of cropping tool. This method will ensure image is 4:3 ratio.
  5. Stable Positioning: Maintain a steady hand or utilize a stable surface to prevent any shaking or blurring of the image.
  6. Assistance: If you encounter difficulty in capturing the image on your own, consider asking a family member or friend for assistance. They can help in holding the phone at the optimal distance and ensuring proper framing of the eye.

By following these best practices, you can ensure that the captured images of your eyes are focused and detailed, facilitating accurate analysis and assessment. Images not meeting acceptable standards will be rejected.

Taking your own eye images using your smartphone

If finding an assistant proves challenging, Here are directions on how to get an ideal photo of your eye yourself using a mirror using the rear camera of your phone. This allows you to view your phone screen in the mirror, facilitating adjustments for focus and centering.

General Instructions:

  1. It’s recommended taking you’re eye images in a well-lit bathroom, with clean mirror and the lights turned on.
  2. If possible, set your camera default to zoom to 2-3x (2.5x is optimal).
  3. Hold your phone in vertical position.
  4. To photograph your right eye, hold the phone in your right hand.
  5. To photograph your left eye, hold the phone in your left hand.
  6. Position the phone’s rear-facing camera as close to the eye as feasible while maintaining sharp focus, typically around 3-4 inches away. It’s crucial to ensure the image remains crisp and clear.
  7. The entire eye should be visible and centered in the photo, with eyelids opened as wide as possible and no shadows obscuring the eye or pupil.
  8. Steadily hold the phone while capturing the photo. Use a tripod or brace your elbows firmly against your body to stabilize the phone.
  9. Avoid saving or sending photos where the camera flash obstructs the borders of the pupils, as this could result in inaccurate readings and subsequent rejection.
  10. Repeat the process to capture photos of the other eye. Each eye should be photographed separately. Start with right eye first.

In this app, you can also save multiple pictures to your gallery and choose the most suitable for uploading eye images directly using this upload form.

Good Quality Images (Light source inside or outside of pupil)

Unacceptable Images (Light source obscuring pupil border)